This project’s goal is to showcase how to build a PC, install a Linux OS, and install a local AI instance on a new PC.
At Defcon 32, I had the opportunity to attend the SOC 101 – SOC 1 Analyst Bootcamp course led by Rod Soto. The course covered a range of topics, including hands-on experience with managing telemetry data using SIEMs, installing various EDRs and SIEM platforms, and performing typical SOC analyst tasks. What stood out to me, however, was Mr. Soto’s discussion about leveraging Hacker AI on a local machine. This approach, while commonly associated with Red Teamers for penetration testing, was presented as a defensive tool for Blue Teamers to simulate attacks on their own network for enhanced security preparedness.
To build a self-hosted AI system, I divided the project into four key steps. First, I planned the hardware requirements and selected components that fit within my budget. Second, I assembled the computer and installed it neatly in a dedicated space within the server rack. Third, I chose and installed an appropriate operating system to optimize performance for my new build. Finally, I installed the AI system, ensuring it was configured correctly for the intended application.
Initially, I planned to use a Raspberry Pi 5 paired with a Hailo M.2 AI module for my project. However, after previously using Raspberry Pis for tasks like running a local DNS server, I wanted to try something different. With Black Friday sales underway, I decided to build an entirely new PC for this project. I found a reasonably priced bundle on Amazon that included an ASUS motherboard, a Ryzen 7 CPU, a power supply unit (PSU), an M.2 SSD, and RAM sticks. Before purchasing, I reviewed the benchmarks for the bundle to ensure there were no bottlenecks between components. Next, I considered whether to opt for a GPU-less build, which would save money but slow down AI processing, or to invest in a GPU for faster performance. Since this PC was intended to function as a background system accessed via a Jumpbox on my network, speed wasn’t a primary concern, and I decided against adding a GPU.
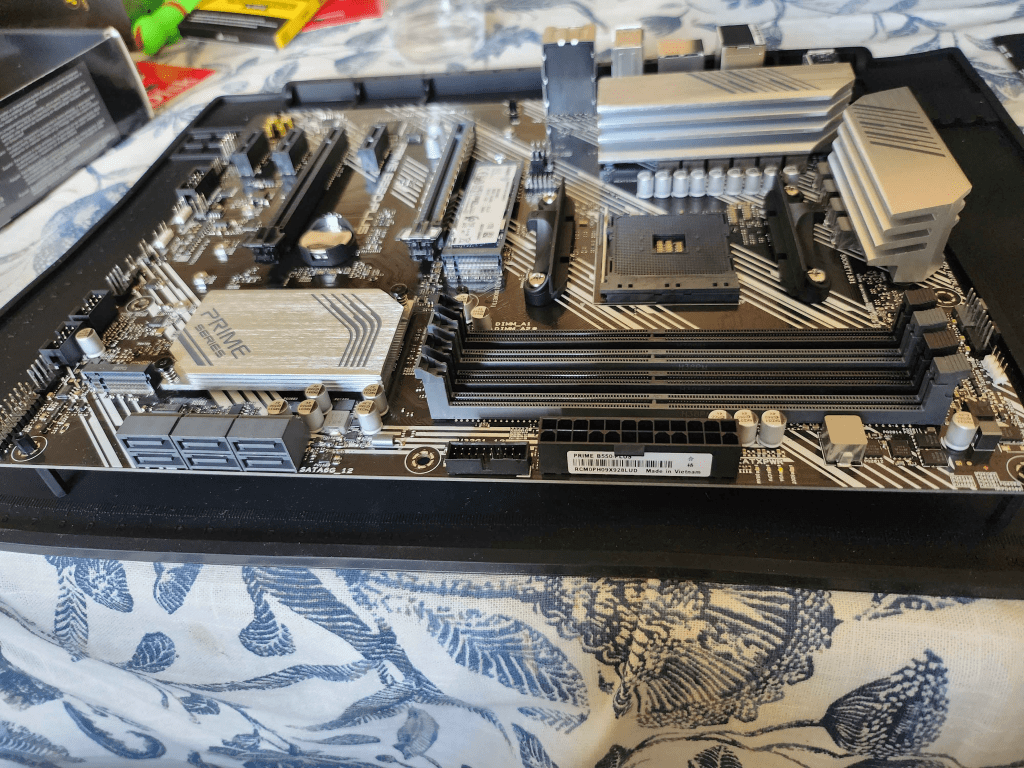
I used standoffs to elevate the motherboard, ensuring proper spacing between it and the metal server rack. This precaution was necessary to prevent any potential electrical shorting caused by direct contact with the metal surface.

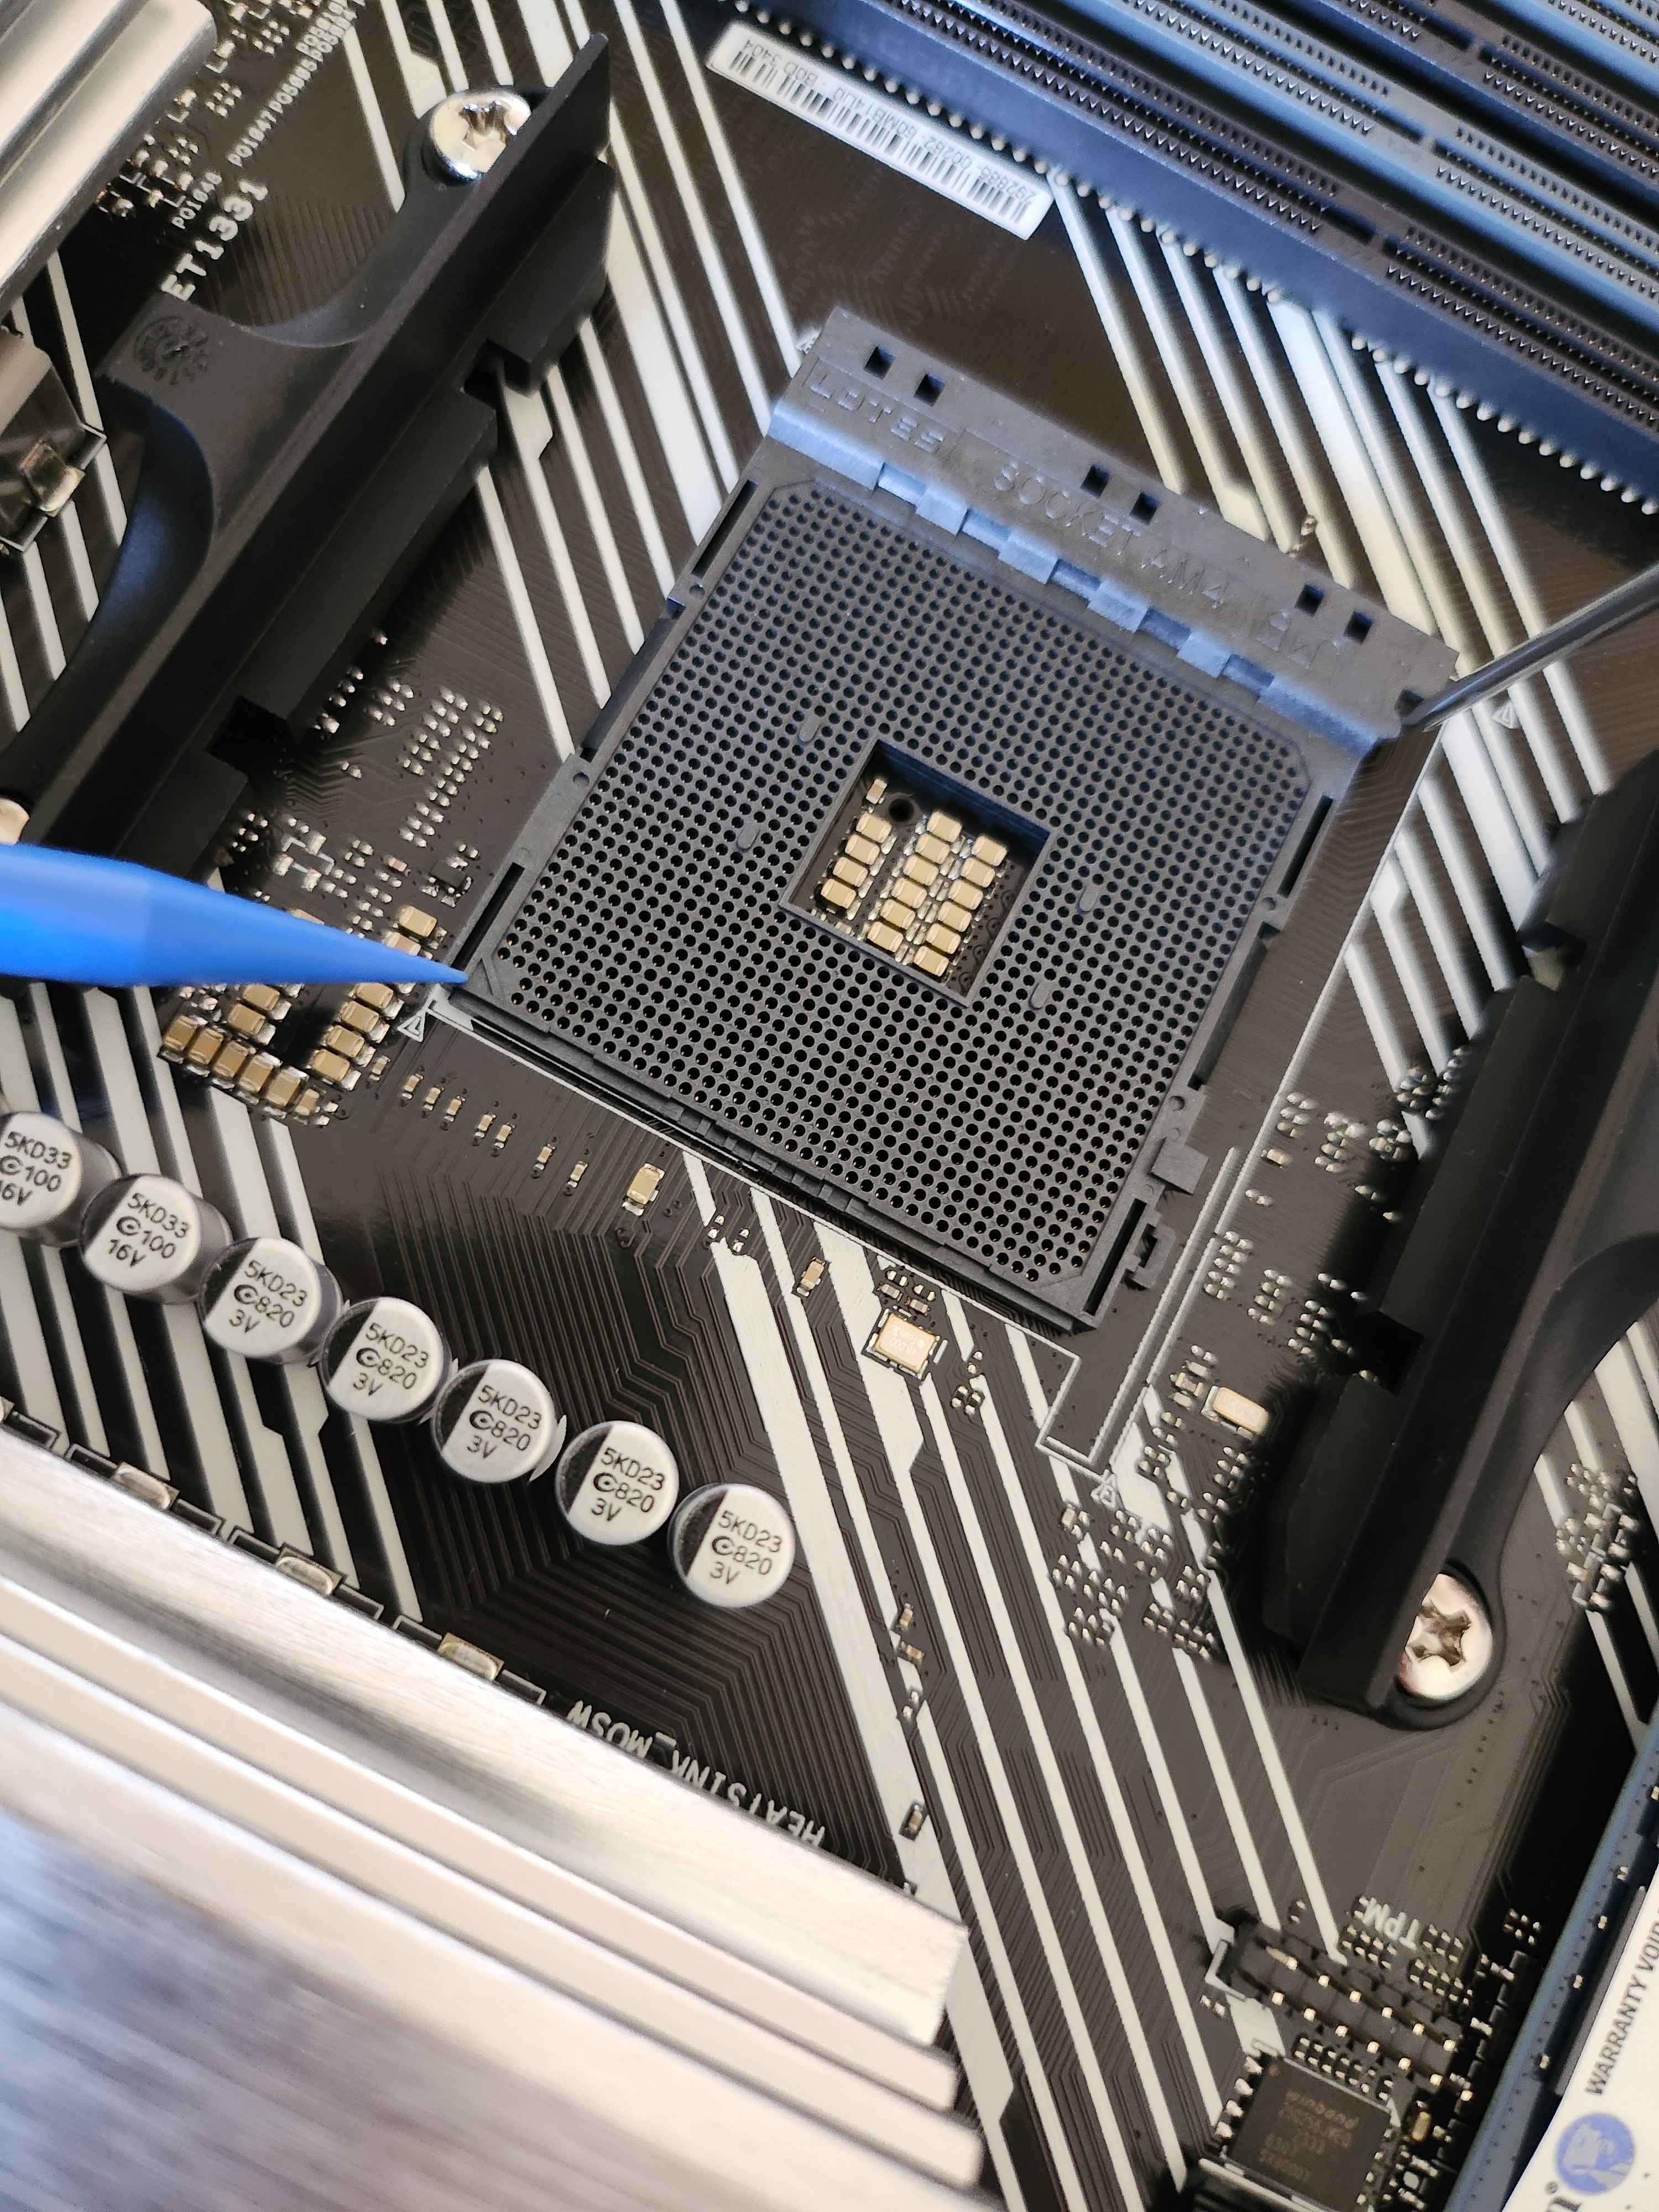
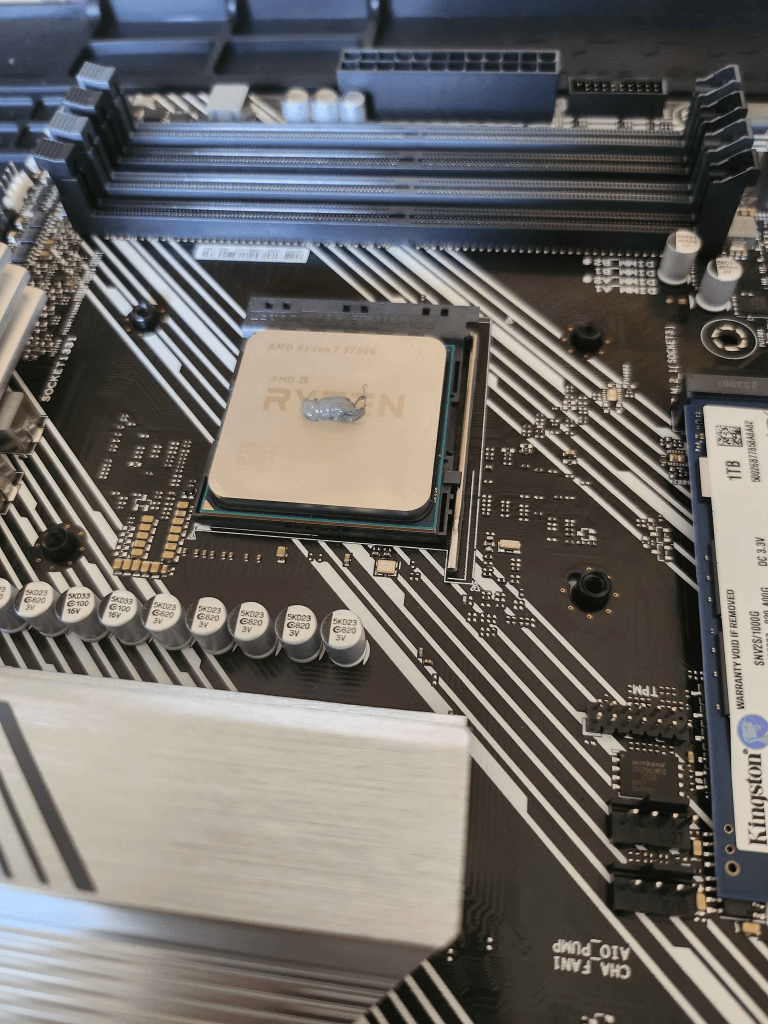
Next, I carefully installed the CPU, aligning the arrow on the CPU with the indicator on the motherboard’s CPU slot. As I locked the CPU into place, I noticed a slight gap between the CPU and the slot. For anyone who had built a computer, this situation would have been alarming. Upon closer inspection, I discovered that three pins on the CPU were slightly bent. To fix the issue, I used a magnifying glass and a plastic tool to gently straighten the pins as precisely as I could. Thankfully, after my impromptu surgery, the CPU fit flush with the slot, with no gaps. Finally, I had quickly installed the M.2 and screwed in the SSD into the board.

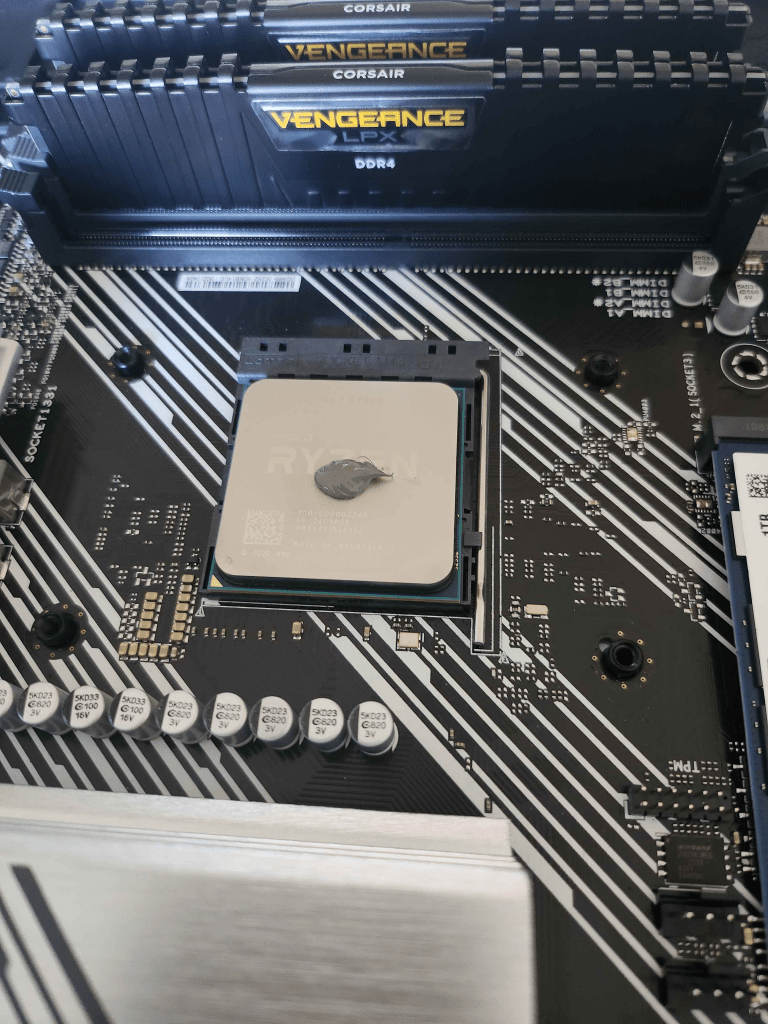
The next step was to install the CPU cooler that came with the AMD Ryzen 7. At the time, I was curious to see how different types and amounts of thermal paste would spread on the CPU. To my surprise, the Ryzen 7’s cooler already had pre-applied thermal paste for convenience. However, I decided to apply my own, so I used a microfiber cloth and isopropyl alcohol to clean off the pre-applied paste from the cooler before adding my own thermal paste.

I had often seen debates online about how much thermal paste was too much or which application pattern was the best. Curious to experiment, I conducted some minor tests to see how the thermal paste would spread. After a few applications and examining the blot left by placing the CPU cooler onto the CPU, I realized that the shape of the blot didn’t matter as much as the amount of thermal paste applied.
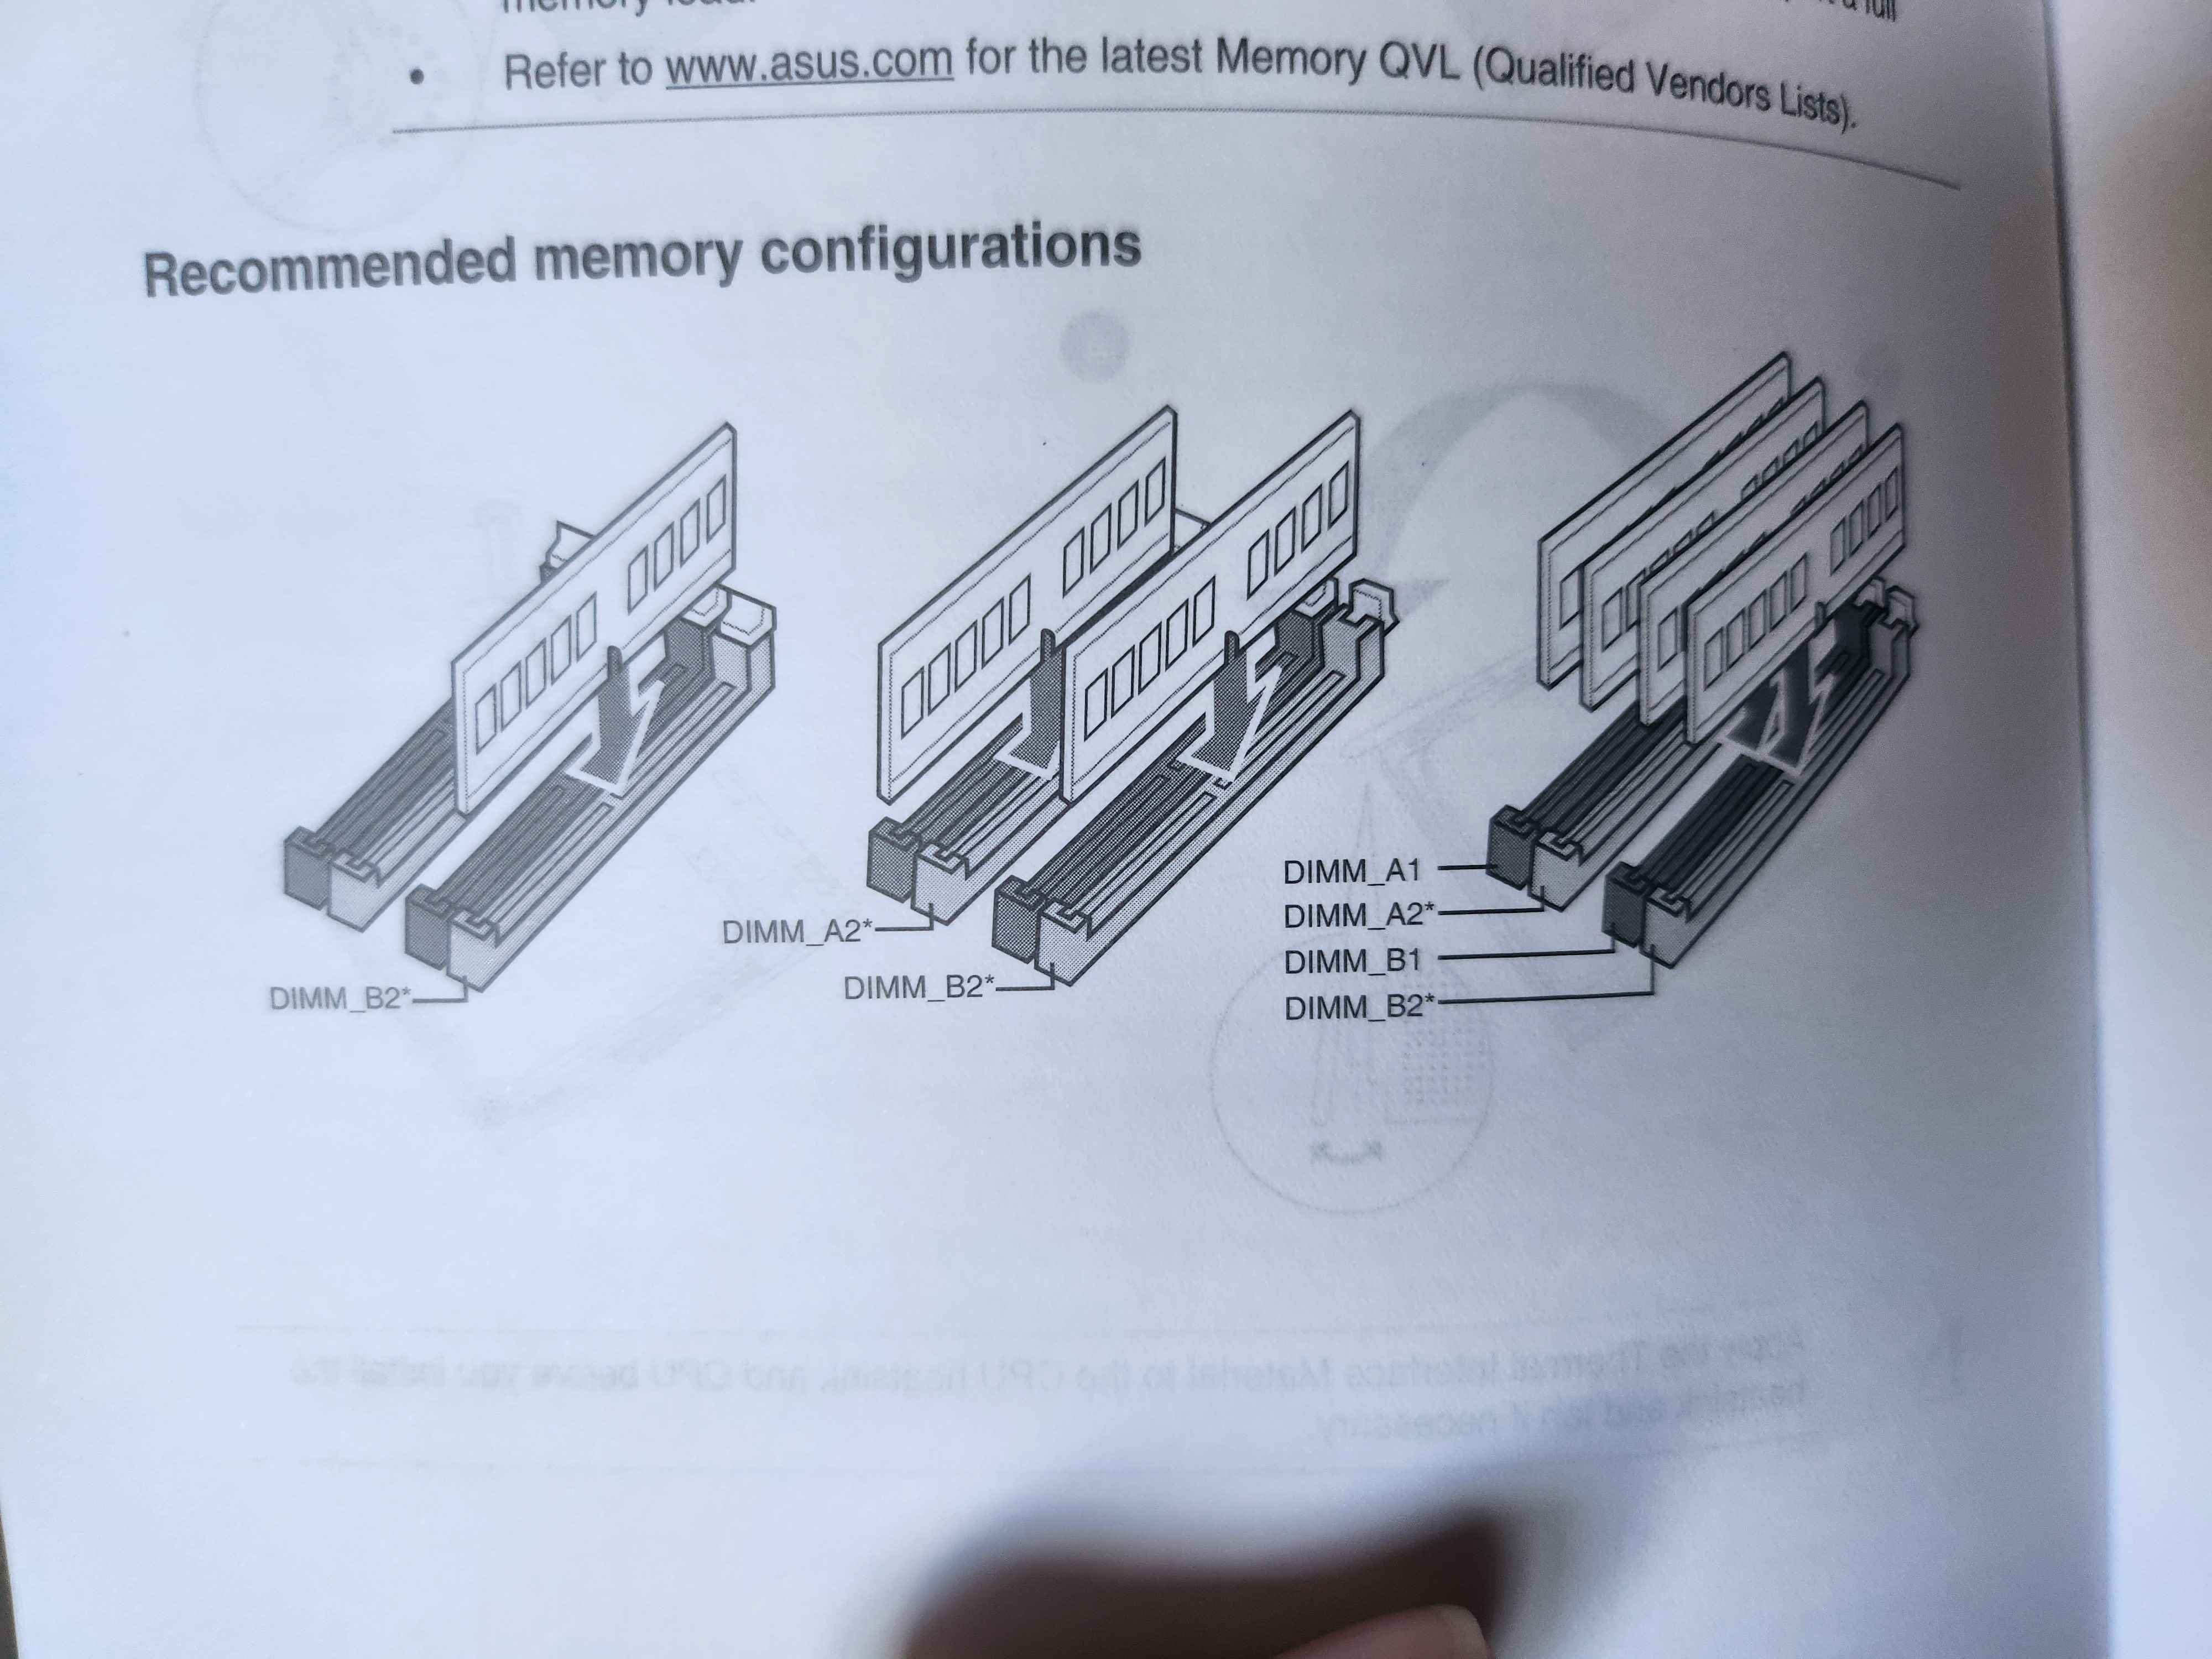
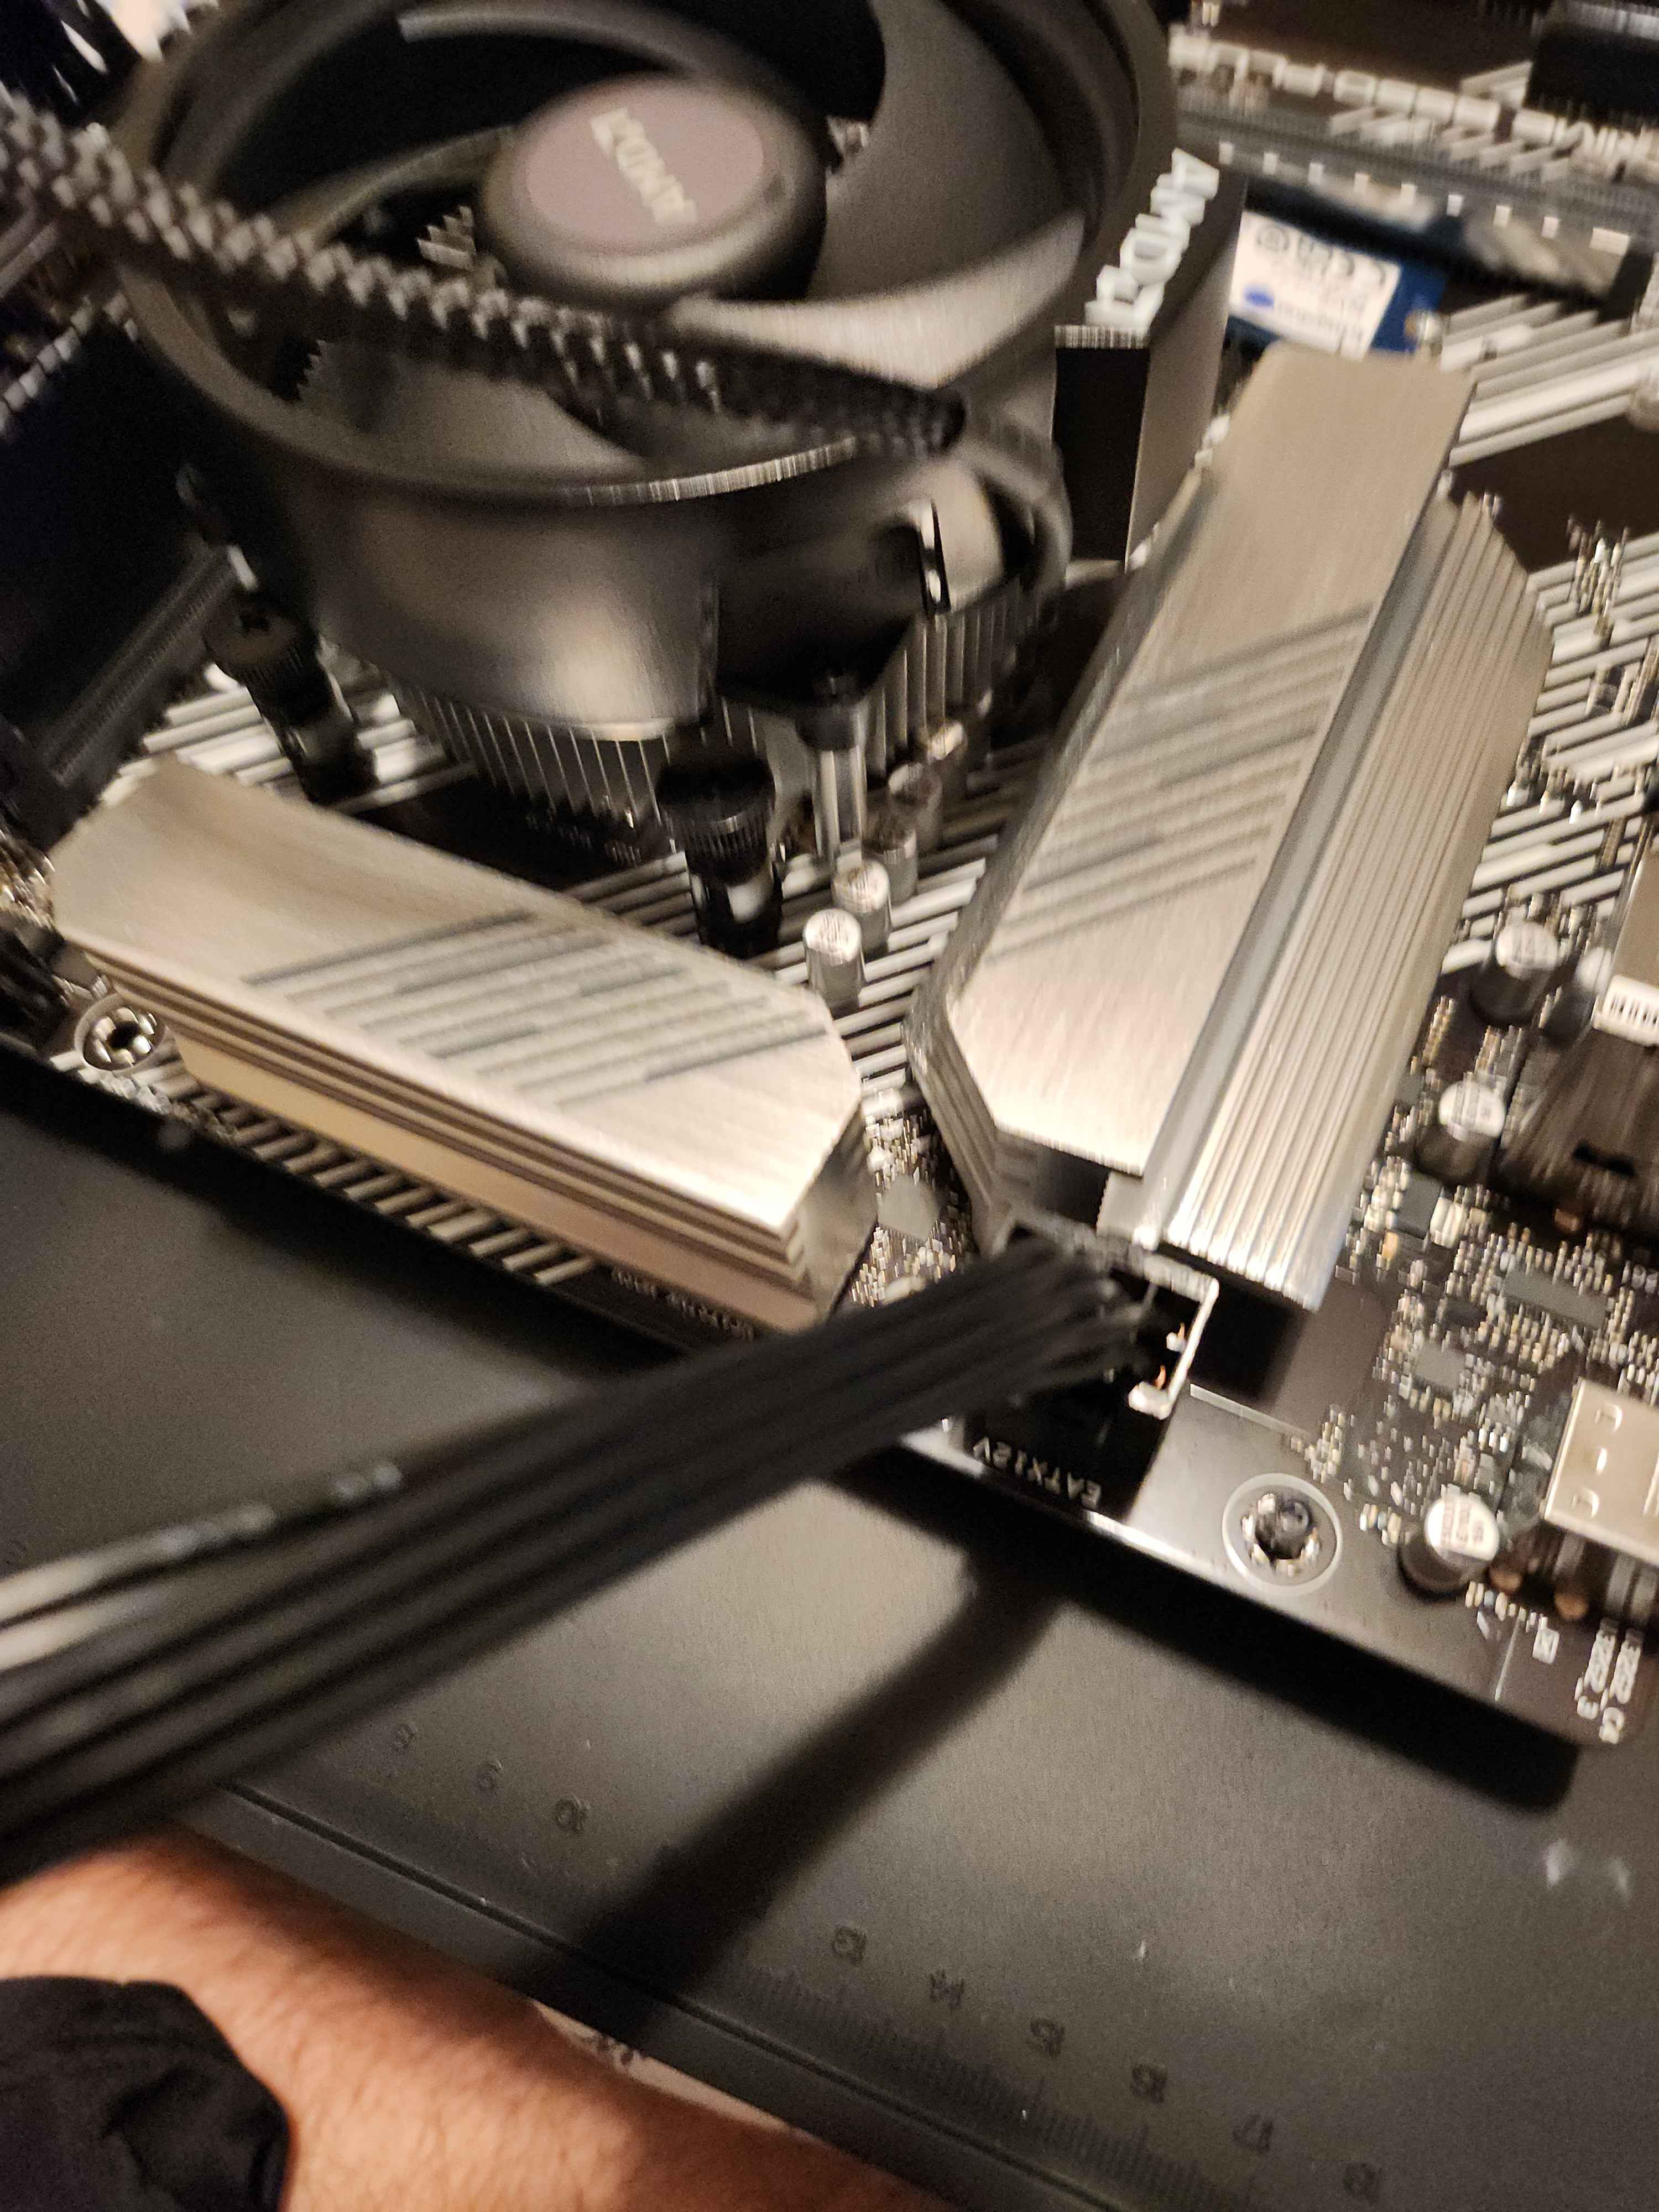
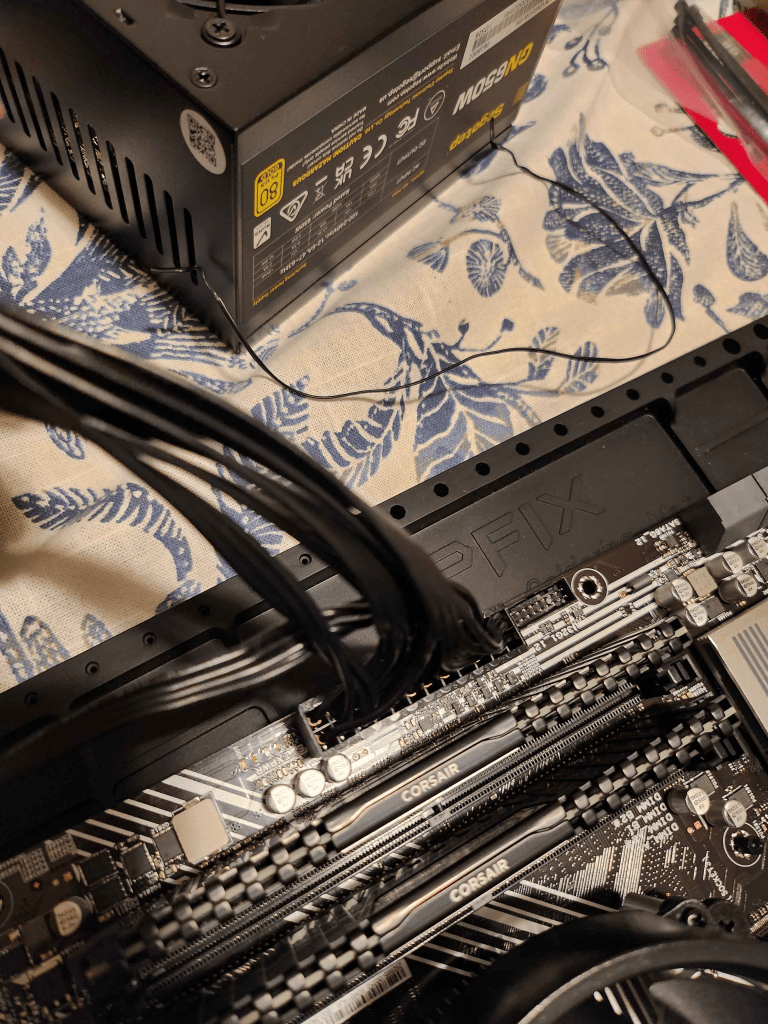
Finally, it was time to install the RAM and the PSU onto the motherboard. I started by consulting the motherboard manual to ensure I placed the RAM in the correct slots. After installing the RAM, I connected the PSU to the motherboard.

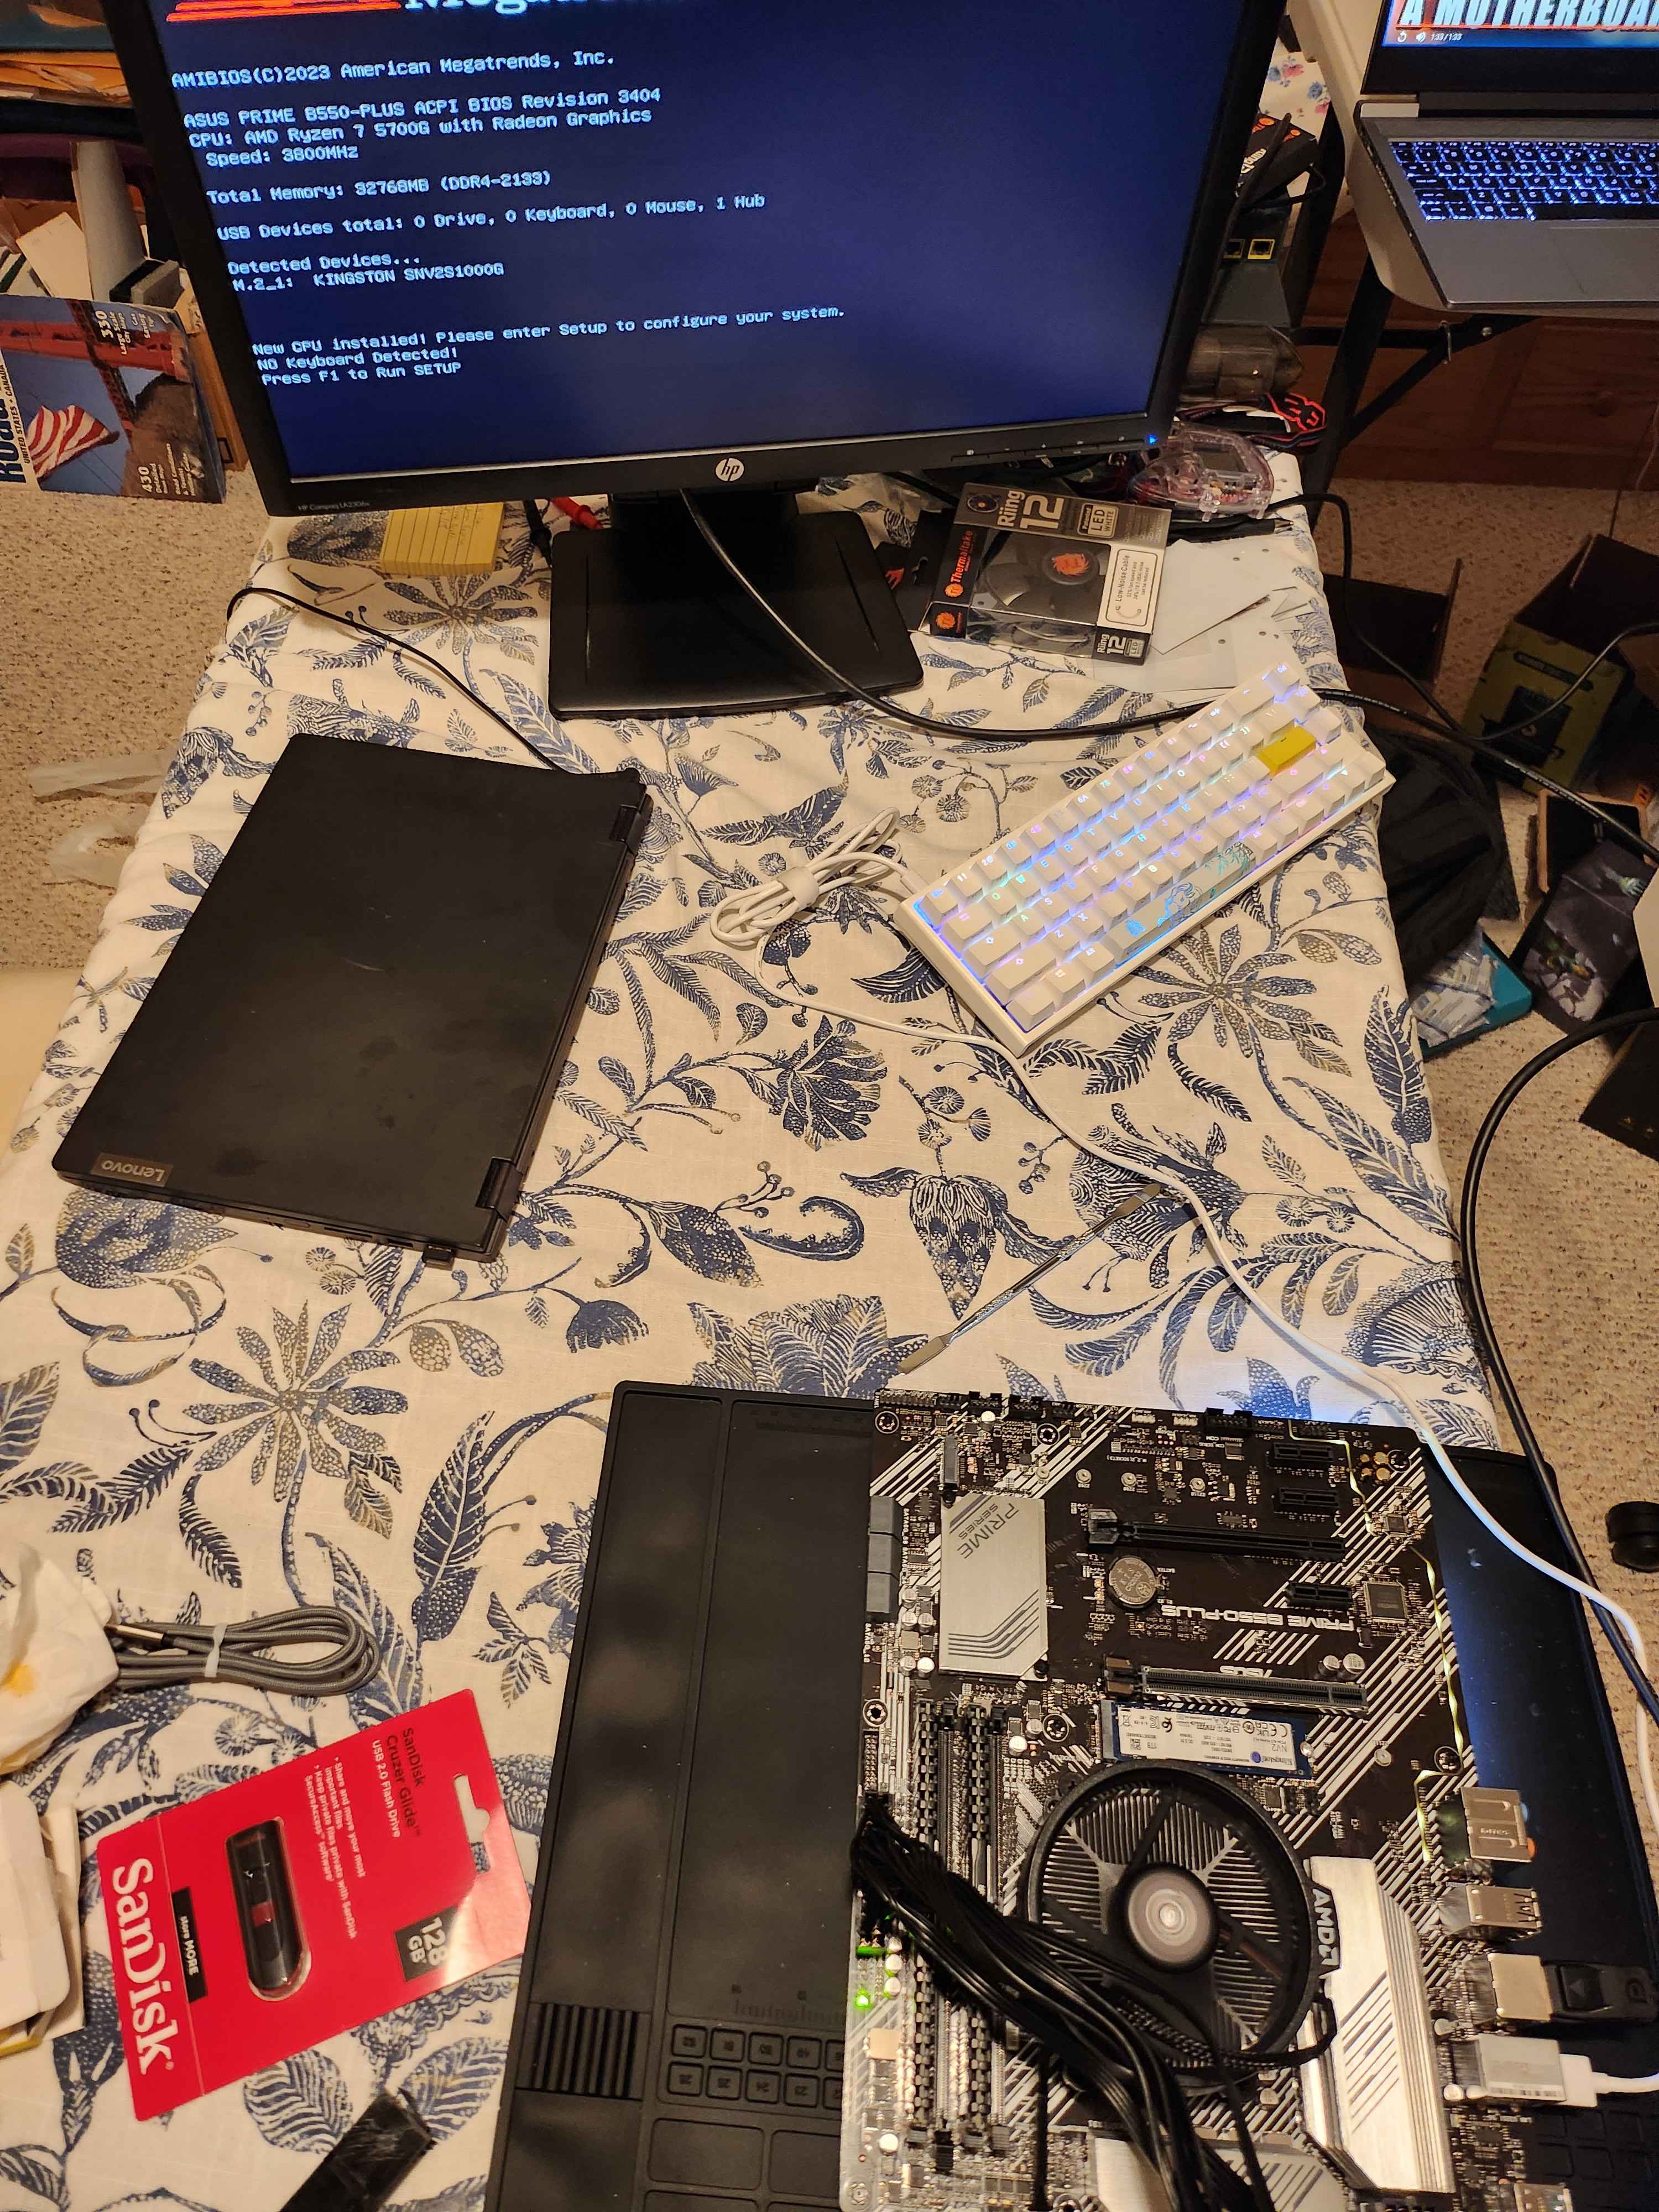
After finishing the hardware installation, I needed to check if the PC would turn on. Since I planned to keep this computer barebones, I jumpstarted it by shorting the pins on the motherboard with a metal tool. Everything worked smoothly, and the PC powered on without any issues. With that success, it was time to move on to step three of my plan.

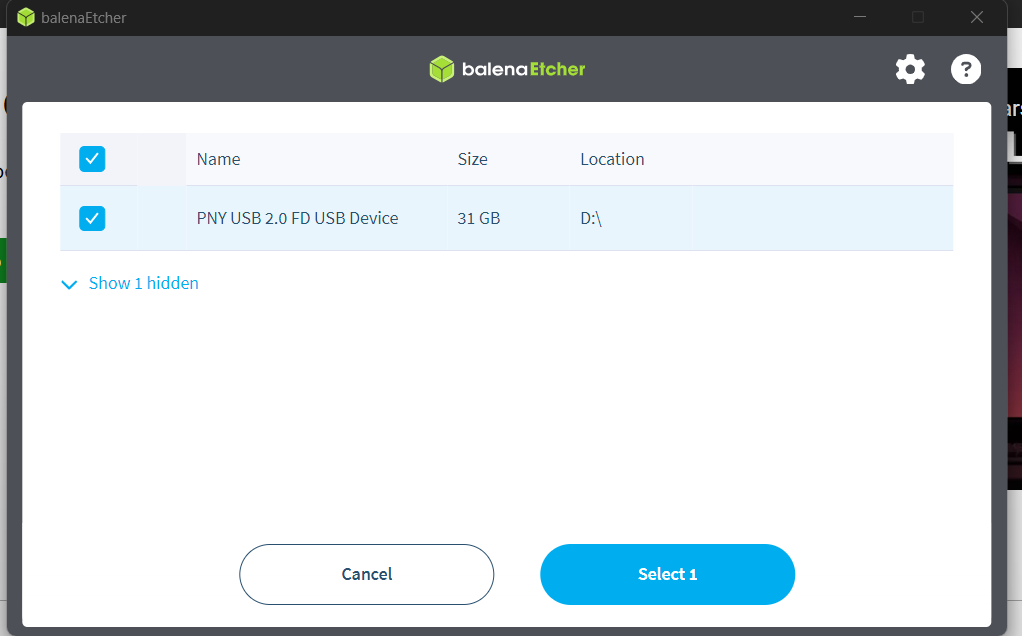
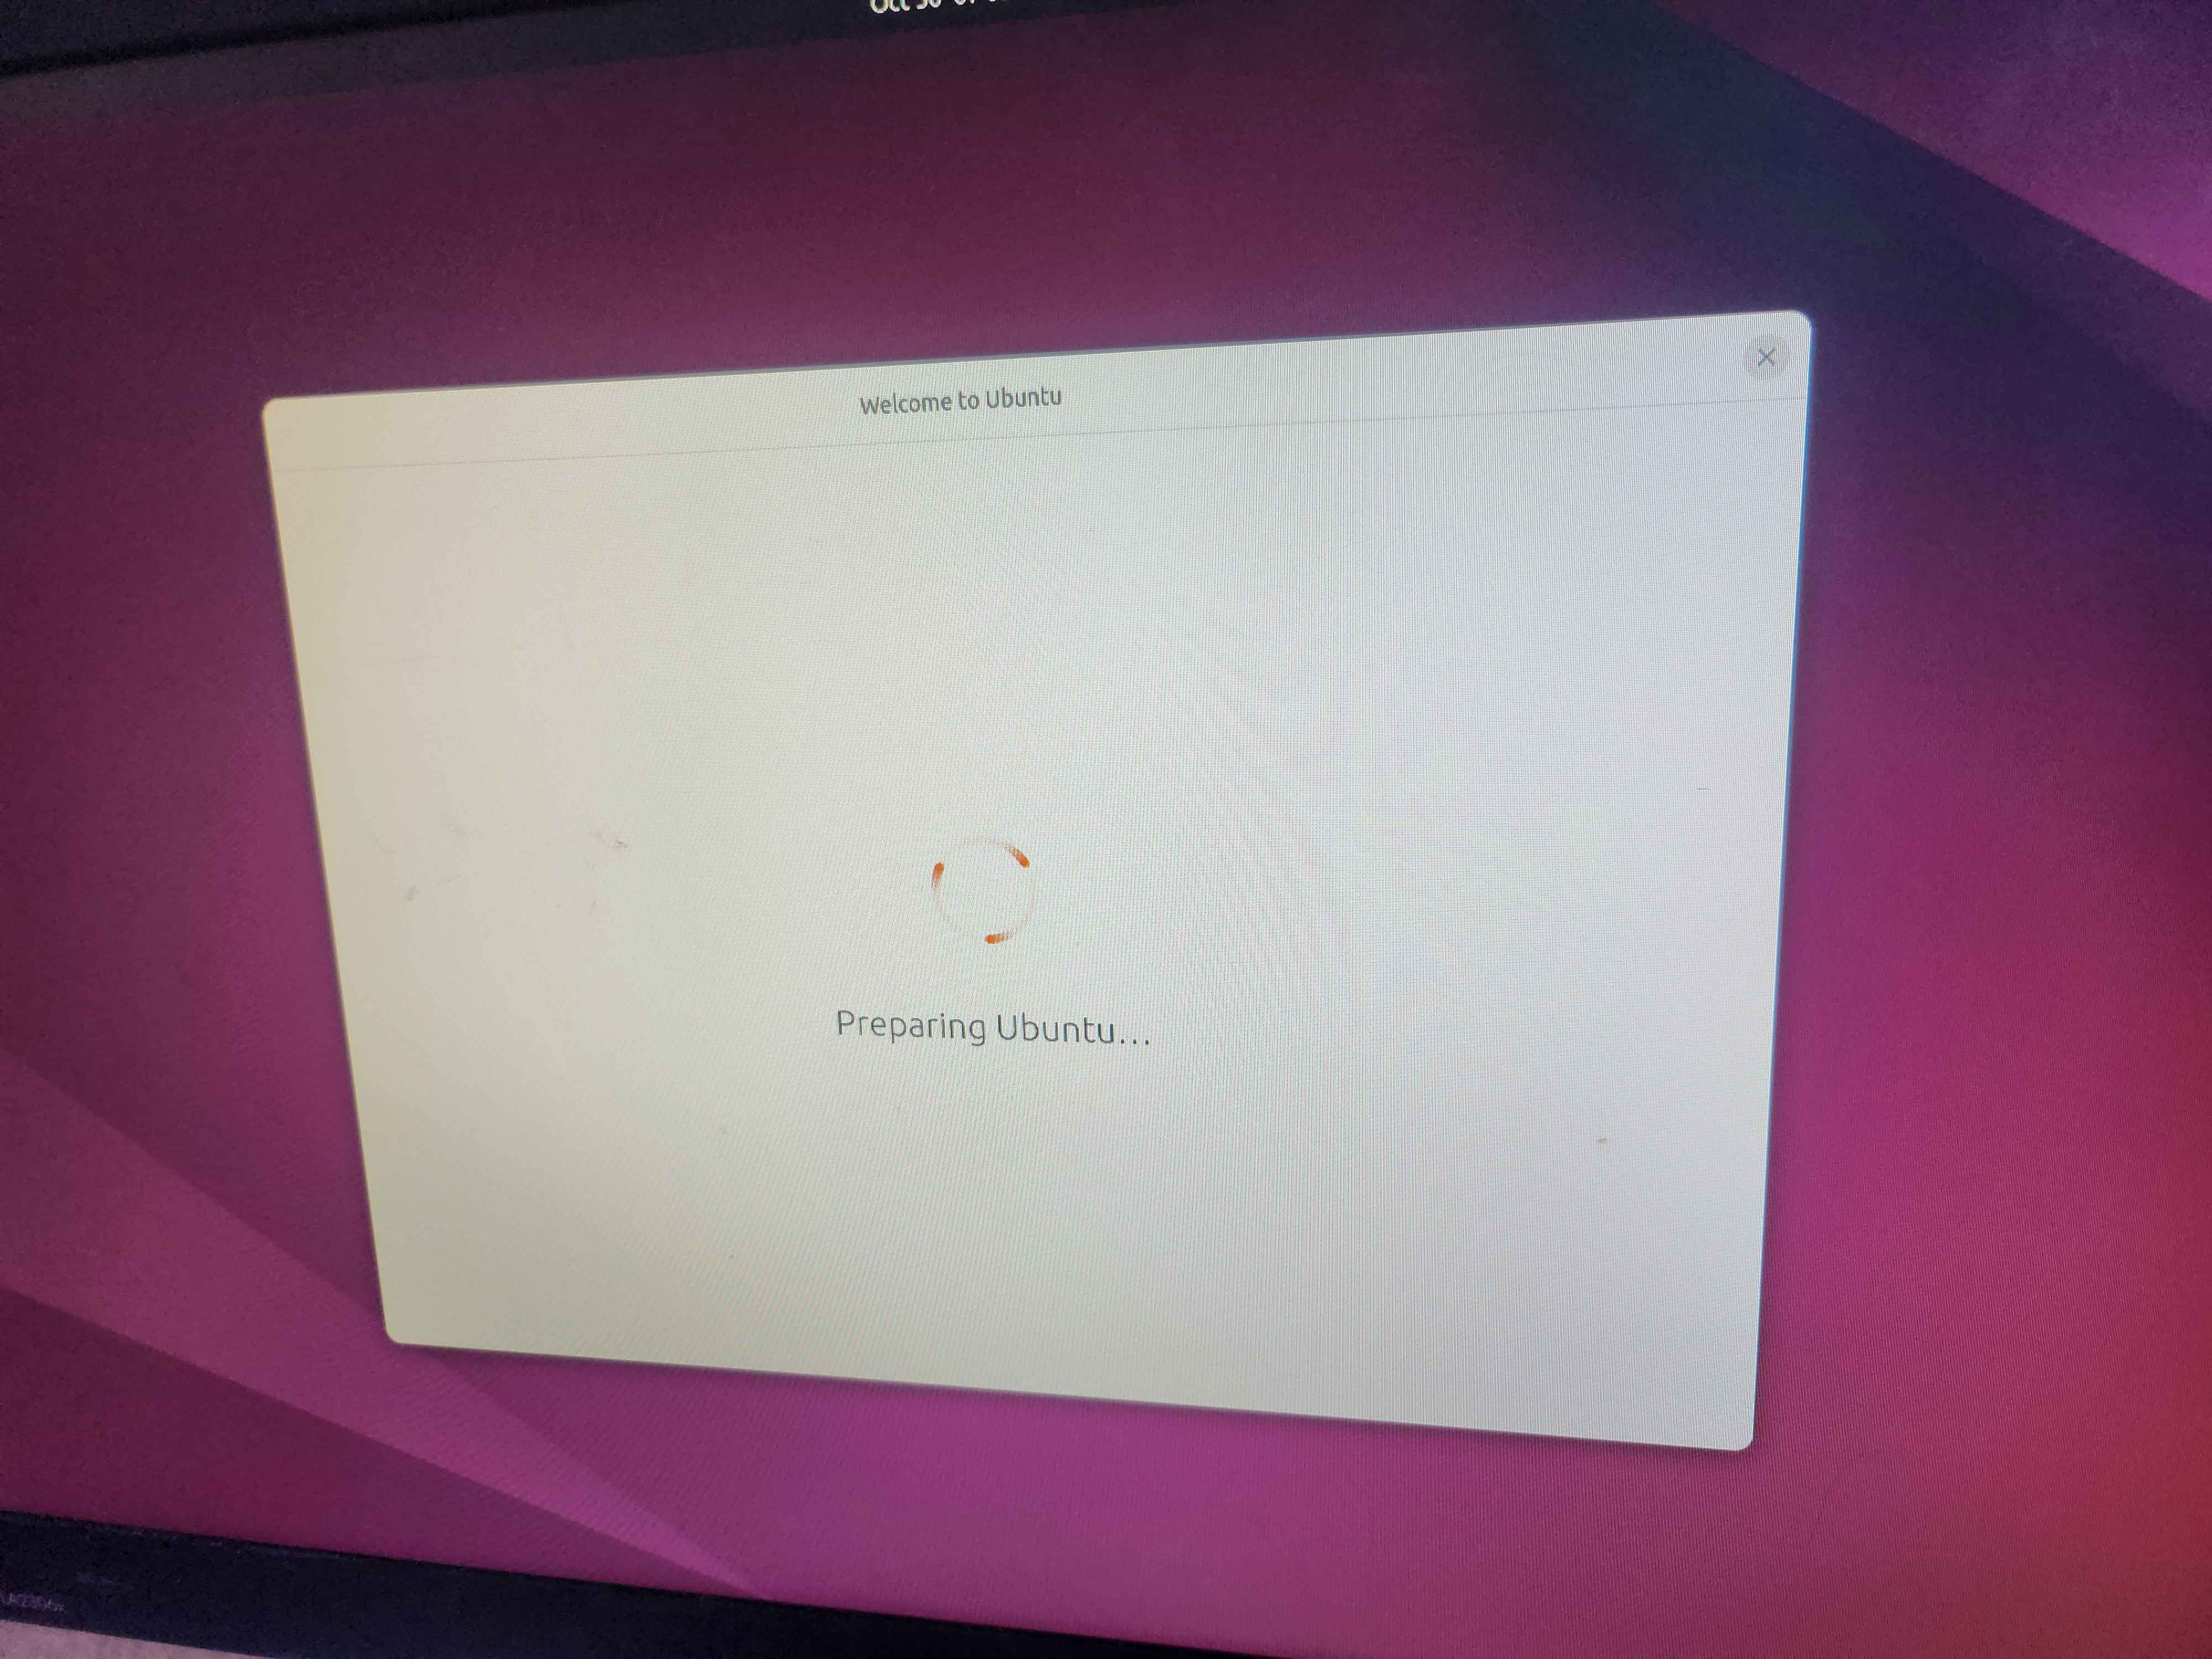
I had planned to install a basic Ubuntu desktop so I could experiment with both the GUI and the terminal. To get the version of Ubuntu I wanted, I downloaded the ISO file from the official Ubuntu website. Ensuring I used the correct website and verified the download was critical; otherwise, I risked accidentally installing malware. Next, I used BalenaEtcher to mount the ISO file onto a flash drive, then plugged the flash drive into the PC to install the operating system.