Recently, a friend of mine gave me an Intel NUC for my homelab. Originally, he wanted to give me a fully working Intel NUC, but while handing me the NUC, he realized the NUC he was giving me was broken. Excited by the prospect of a new project I could work on, I leaped at the opportunity. While inquiring about the NUC, he told me the small computing device wouldn’t turn on. In the past, I’ve dealt with many regular desktop PCs having issues with turning on. With the logic that small and big PCs are essentially the same with different sized components, I decided to troubleshoot the normal issues that I’ve dealt with in the past with regular PCs.

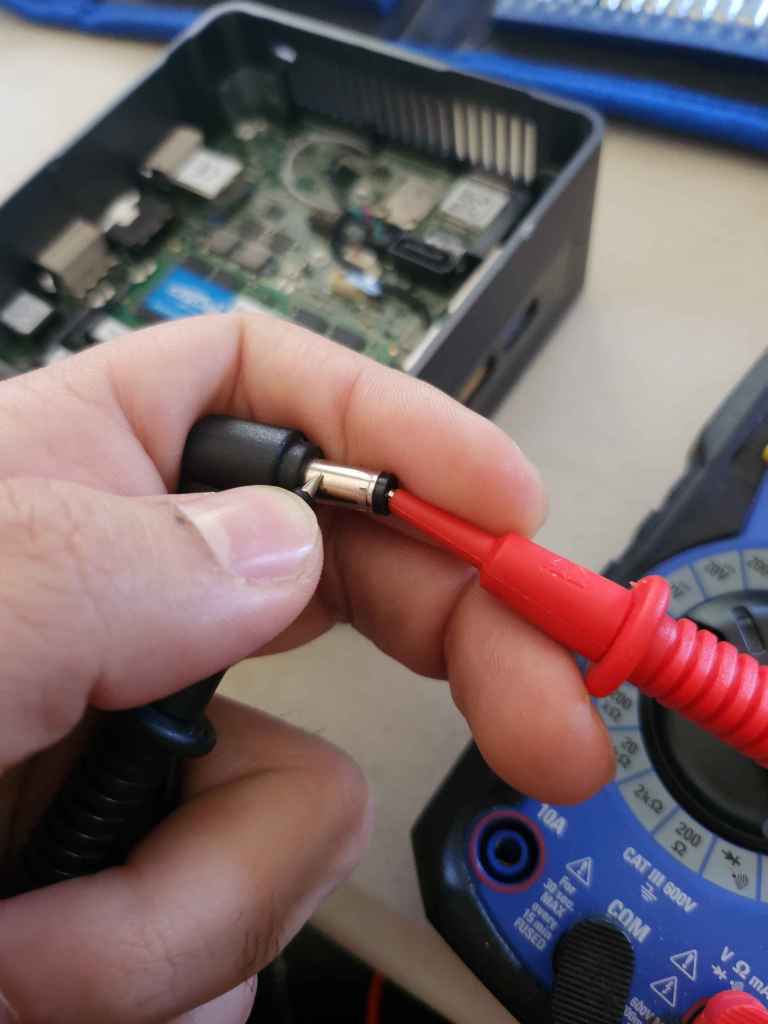
Throwing caution to the wind, and while being heavily medicated from my wisdom tooth extraction, I mustered up a list of potential reasons for why the NUC was not turning on. Some of which included: power cable problems, peripheral devices caused failures, PSU died, the CMOS battery being faulty, a blown capacitor or chip, or the motherboard itself died. While trying to turn on the NUC on a different outlet, the NUC was completely dead and couldn’t power on. Odd. Ok, the next step was to see if the power cable is the issue. Using a multimeter I pulled out of a dusty cabinet, I tested how much power the cord was pulling. It seems like the power cord wasn’t the issue, since the cord was pulling the correct amount of electricity as expected.
Ok, the next step was to see if I could jump the motherboard without the power button. Sadly, I couldn’t find a single guide anywhere on how to do this, so I decided to move on.
I remember in the early days of MythBusters, Adam Savage said that if something is broken, just take it apart and put it all together again. According to the logic, most of the time, reassembling electronics will fix the issue. While still in middle school, that quote resonated with me, so I decided to take apart the family PC and put it back together again, since the PC was running slowly. Little did I realize that after removing a CPU from the cooling fan, you cannot place the cooling fan back on. For those who are unaware, the thermal paste that is layered in between the fan and the CPU will develop bubbles after removal and cause unnecessary heat damage to your CPU. Yet somehow, the PC ran smoother than before. Ever since then, anytime I work on a new PC or laptop, I like to completely take the computing device apart and reassemble it (while replacing the thermal paste in the process). While taking the NUC apart, I decided to test the CMOS battery.
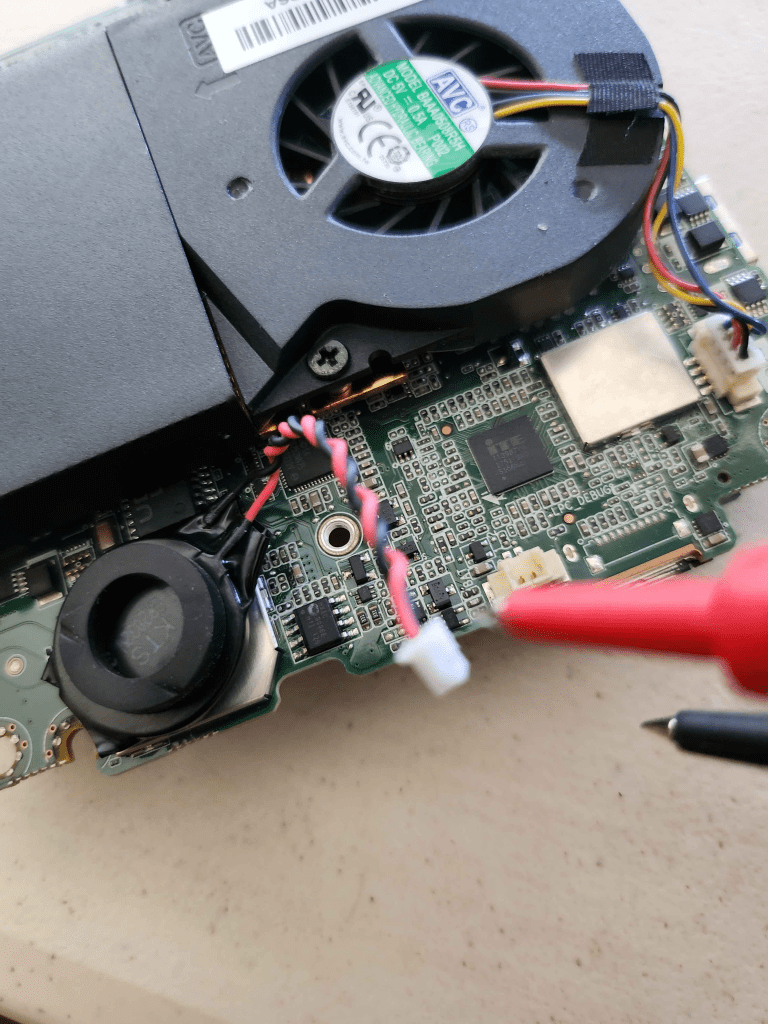
In the past, I’ve dealt with a few CMOS battery issues, and slightly hoped this was the issue since it’s an easy fix. However, while testing with the multimeter, I saw that the CMOS was still working perfectly fine. Ok, maybe here is where I can test what Intel recommends doing. After leaving the CMOS battery unplugged for 3 minutes, I inspected the board for any potential burn damage to any of the small parts on the motherboard. Nothing. Alright, now it’s time to plug the CMOS back in and use a new DDR4 RAM in a different RAM slot. Again, nothing. At this point, I decided it was time to fully remove everything on the motherboard to see what the issue was.
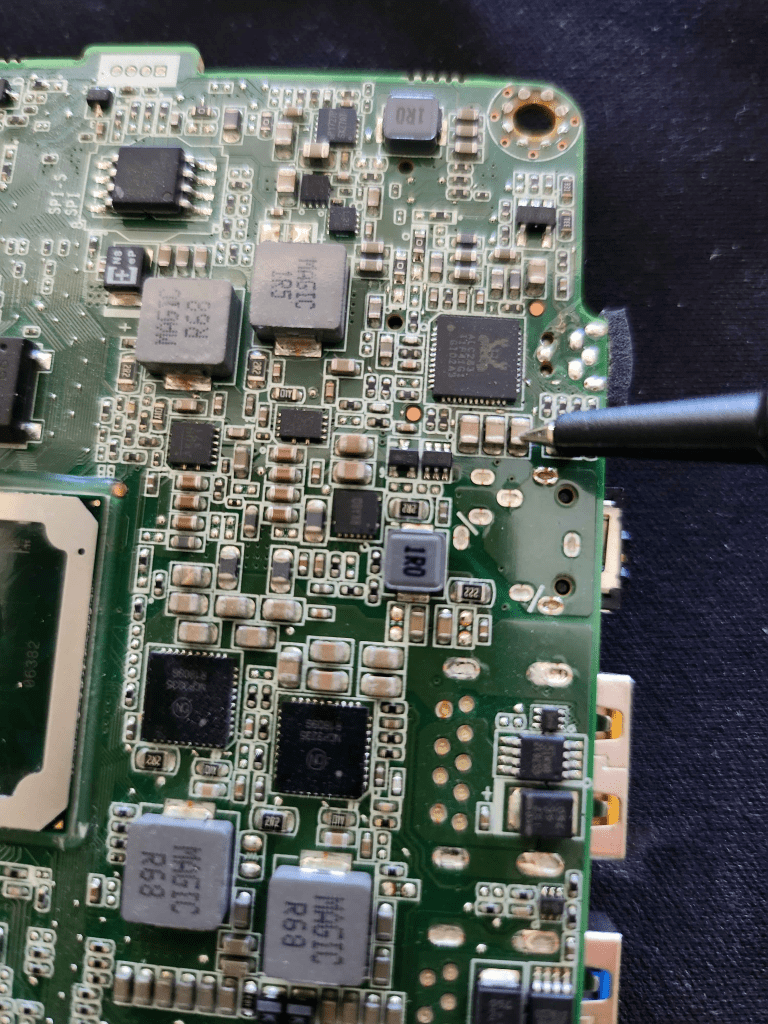
After, removing the cooling fan and cleaning the thermal paste off the motherboard, it was time to test every capacitor on the motherboard. Using the multimeter, I connected one prong to the PCB and another to the capacitors. Bingo, I found the issue. The capacitors under the power button are shorted and aren’t beeping on the multimeter like the other capacitors are. The next step will be to find a donor board from another broken NUC and replace a working capacitor on the PCB we want to fix.
I genuinely hope the issue is simple and that the capacitors only need to be replaced. Currently, I’m looking for a PCB on Facebook Marketplace that I can use, so until then, this project will be on hold.